Maya Modelling
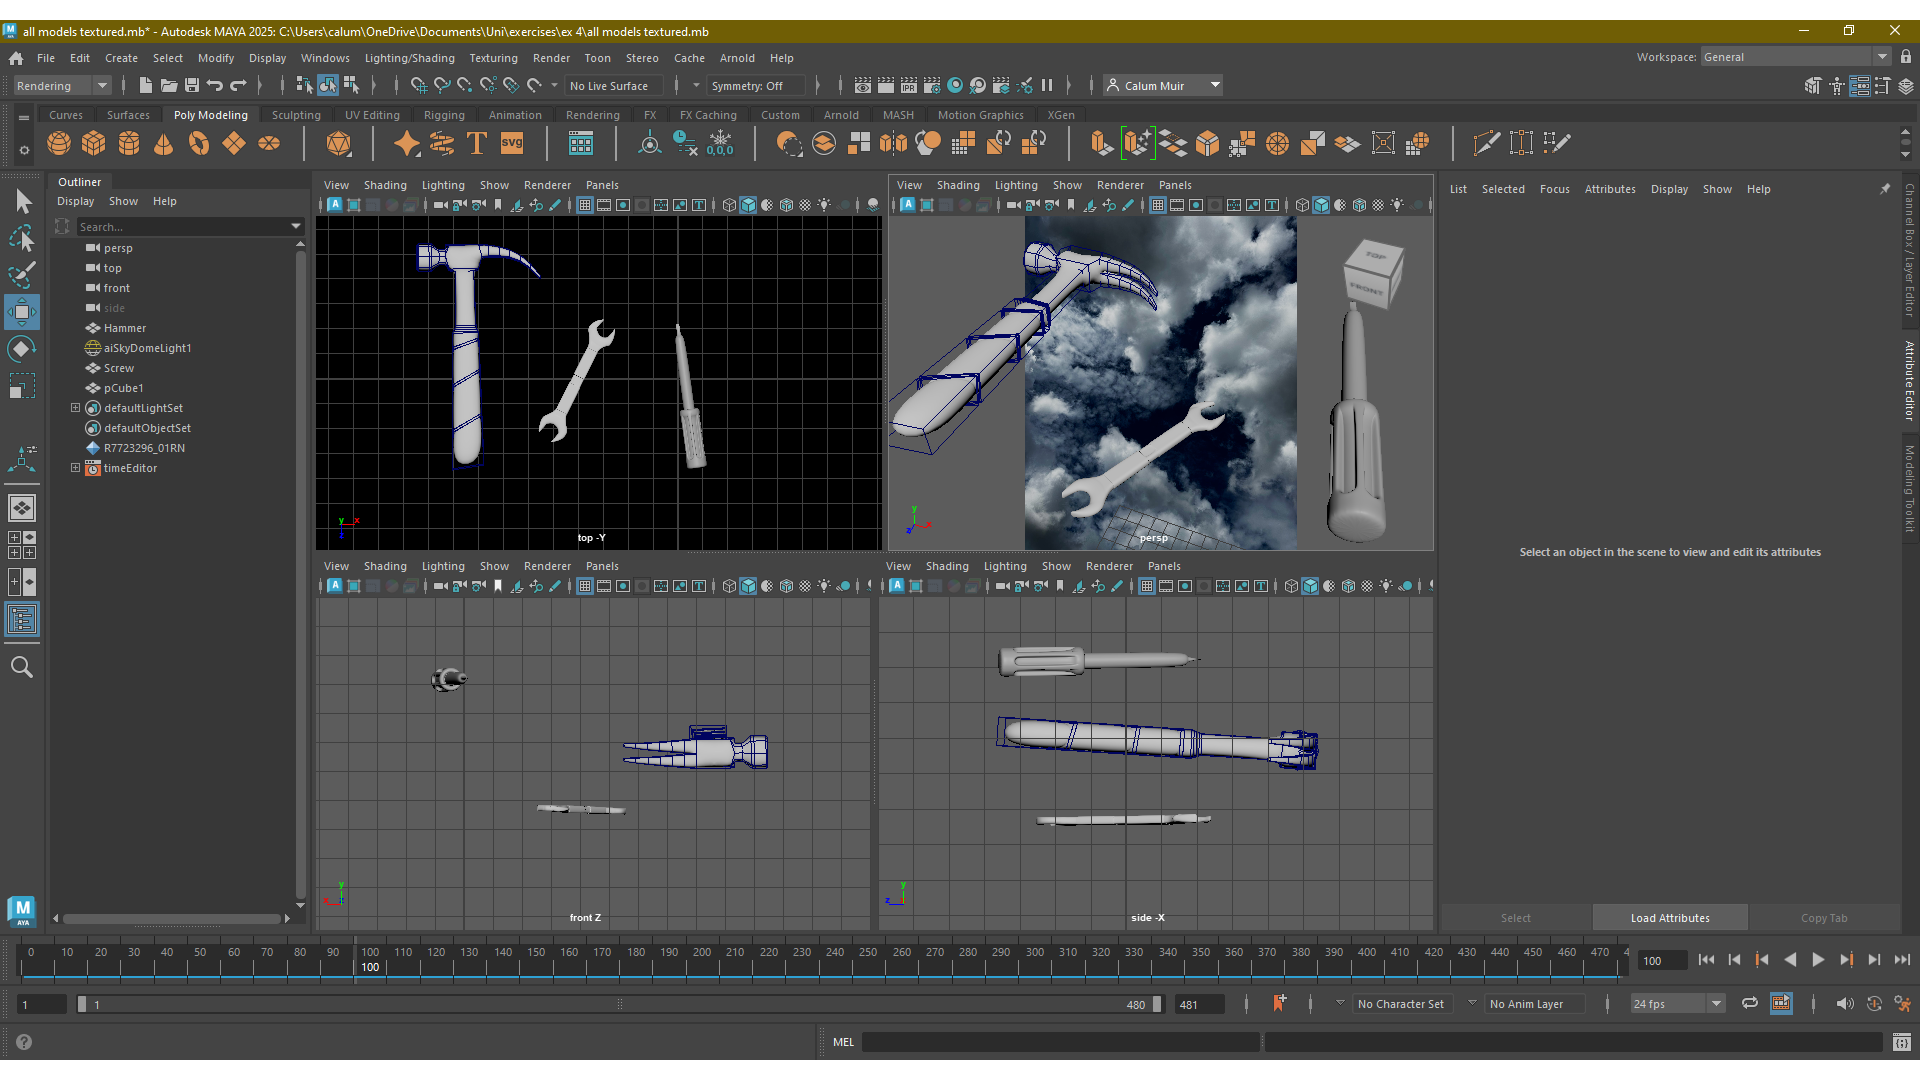
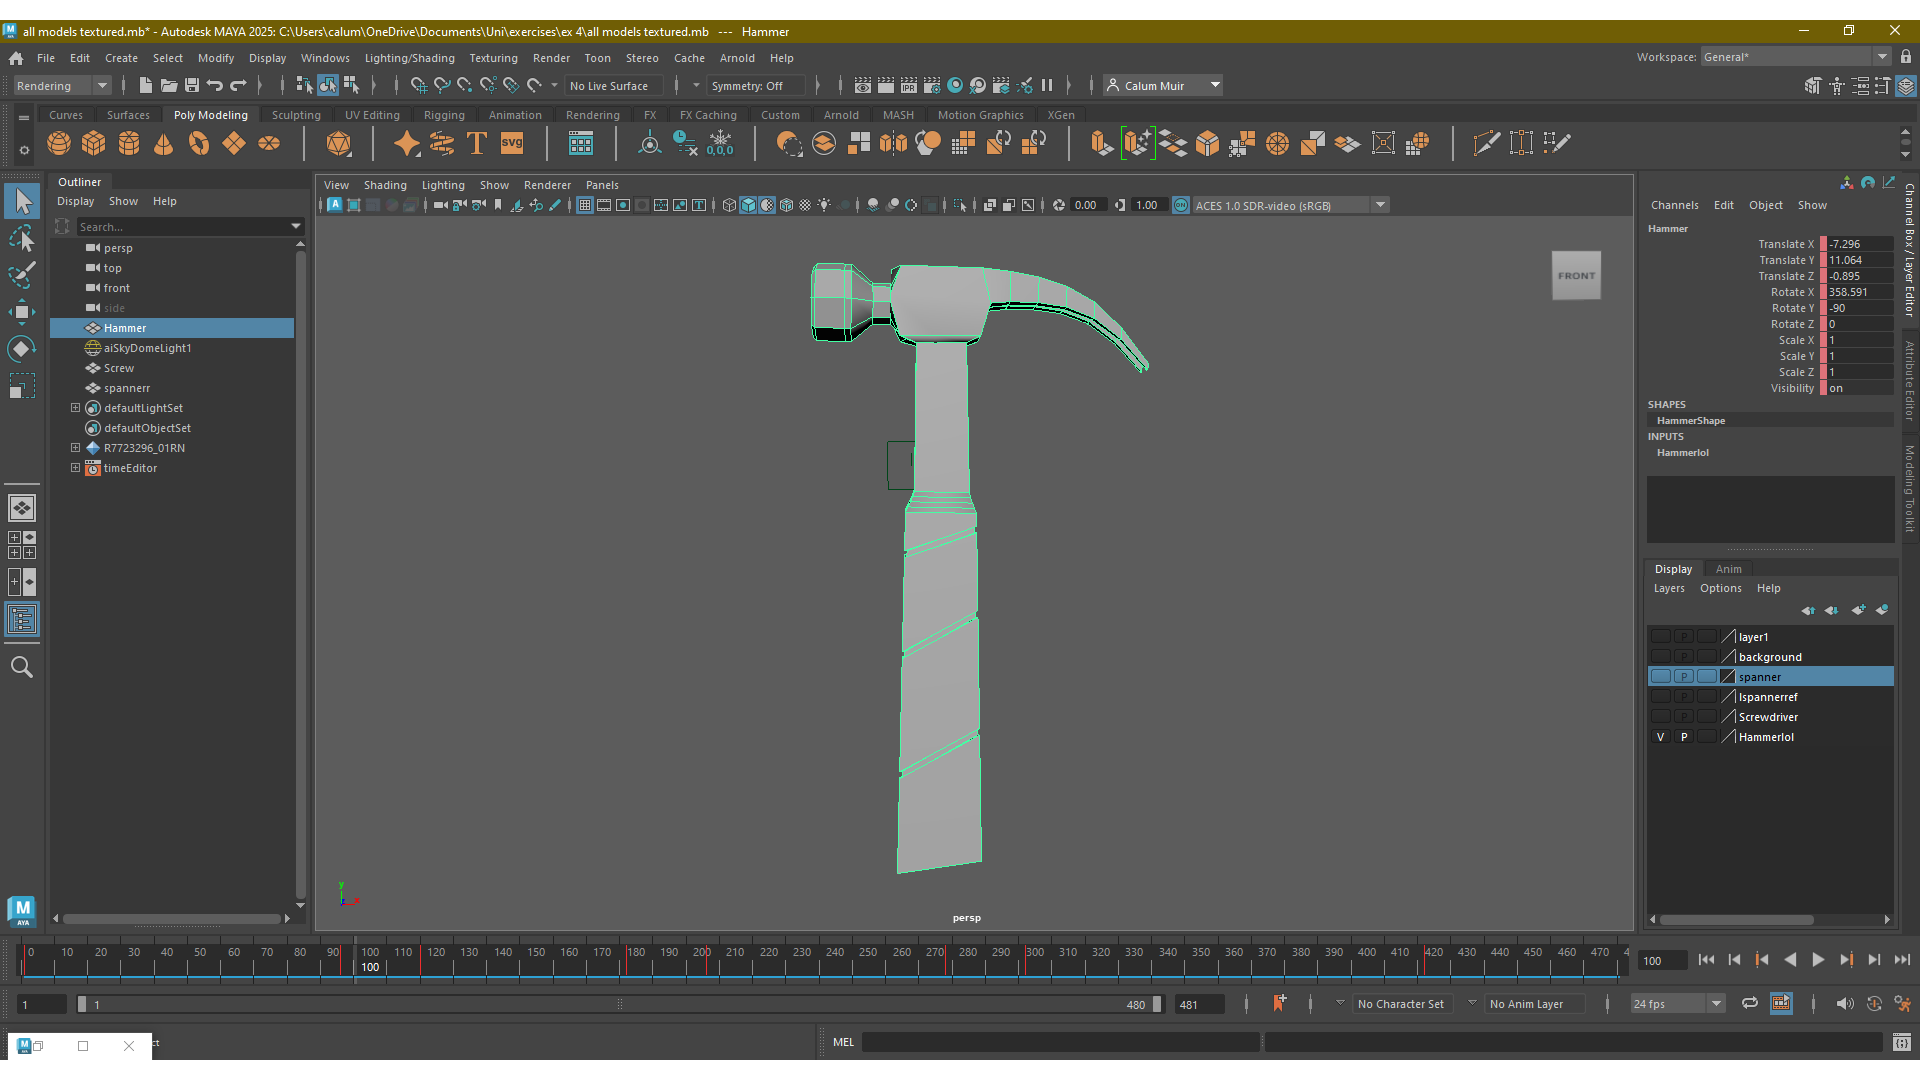
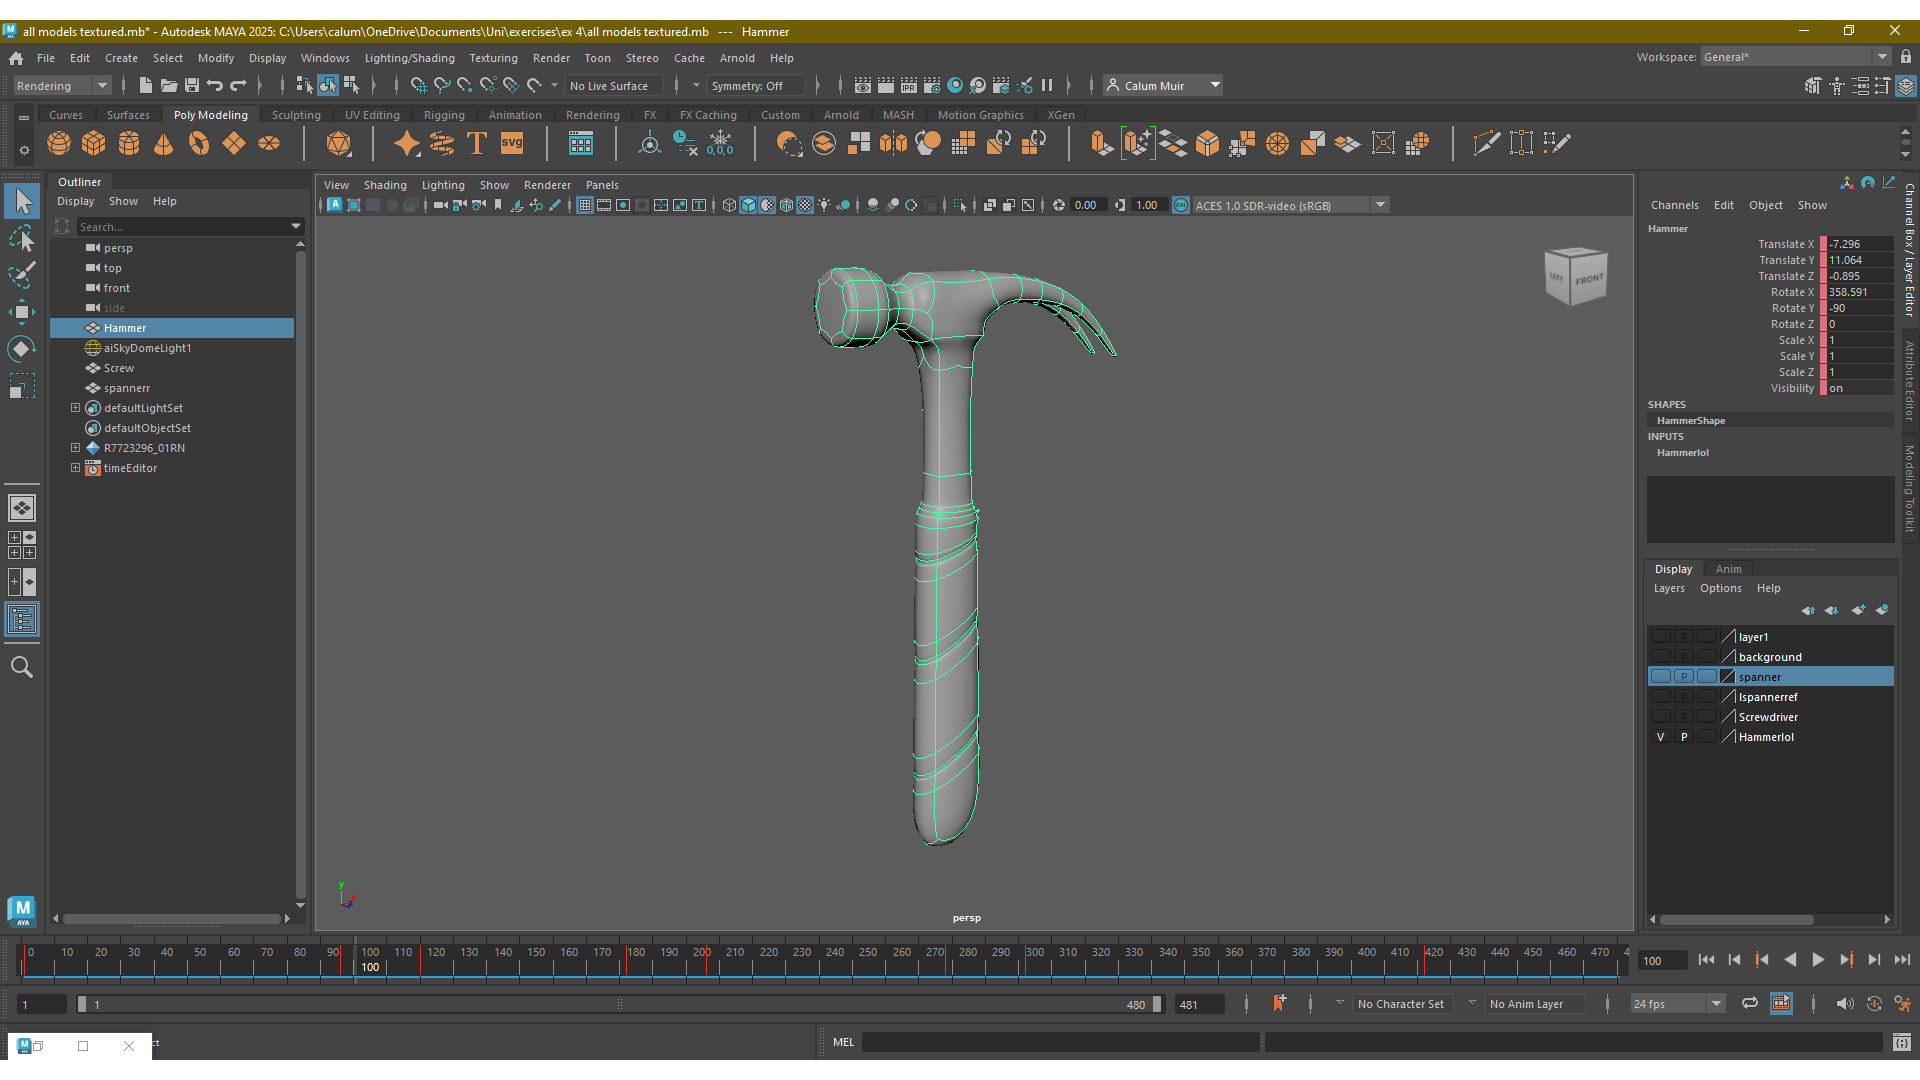
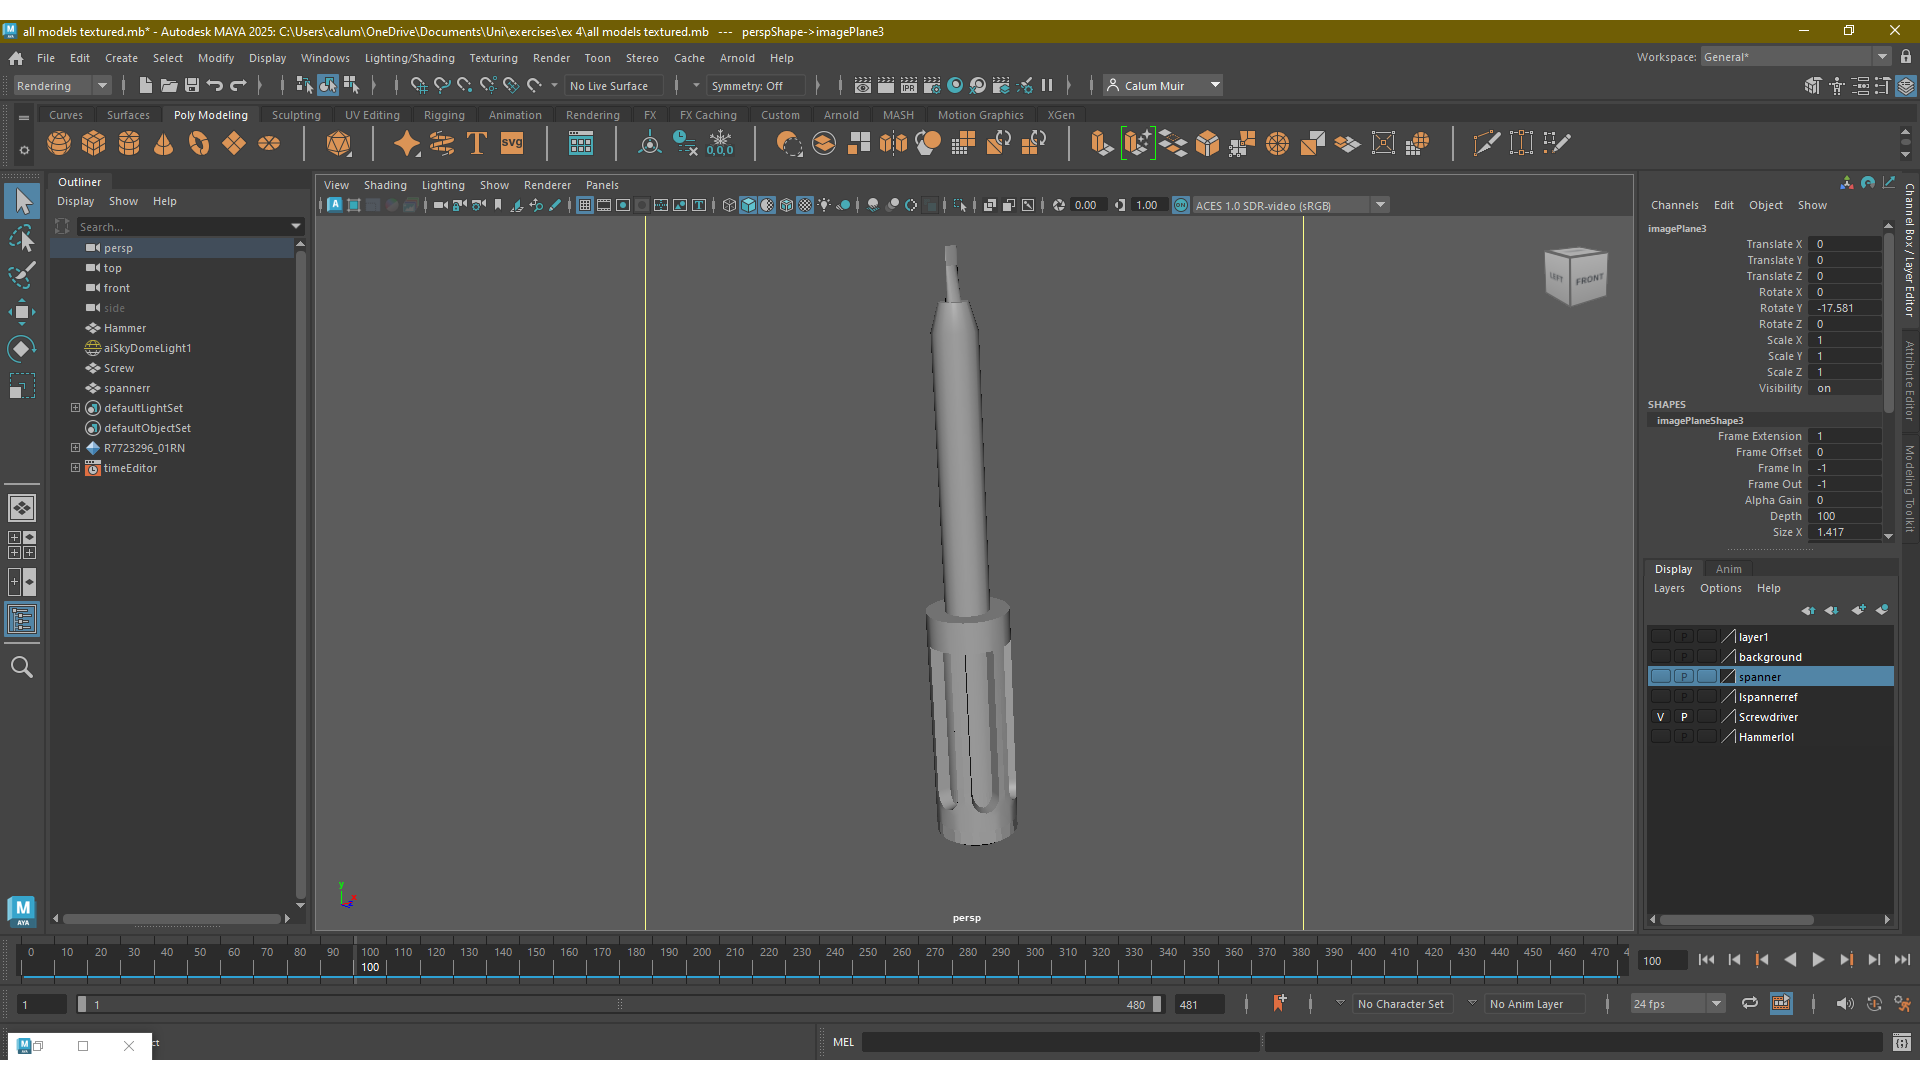
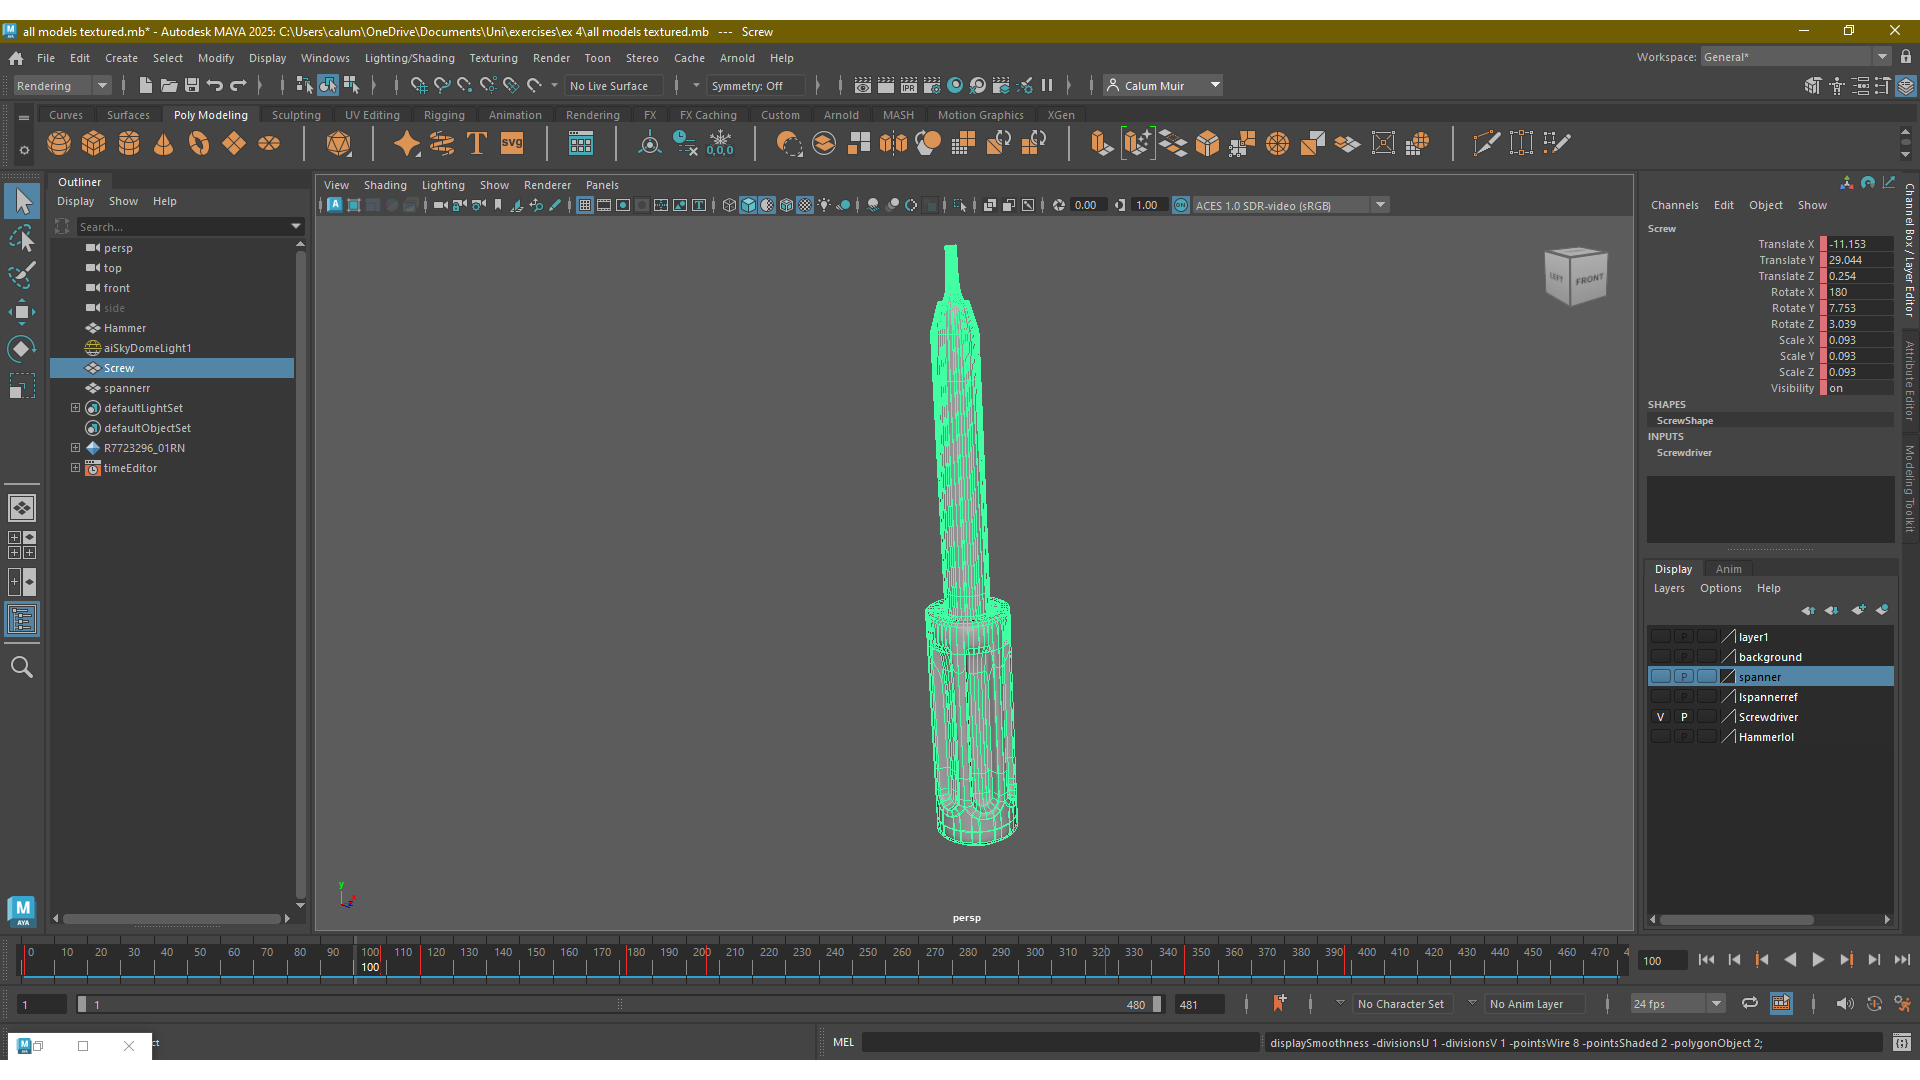
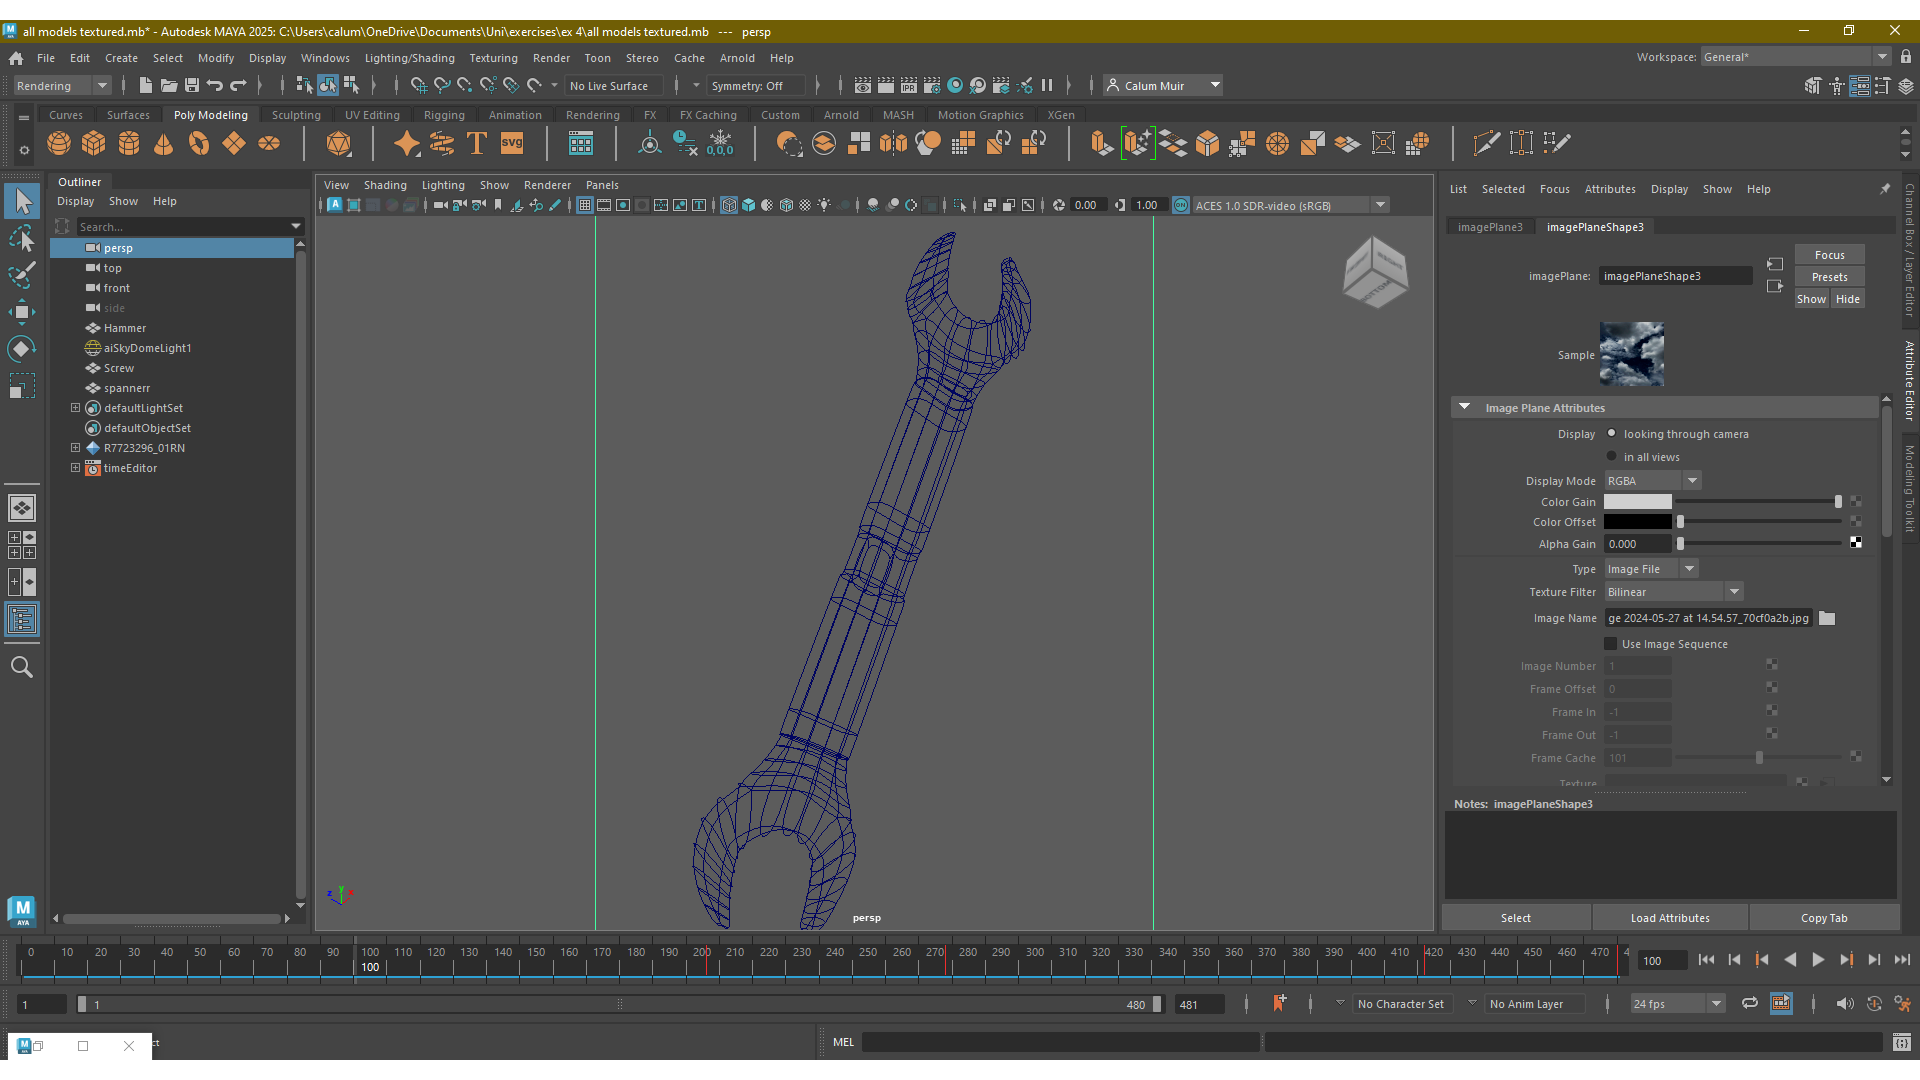
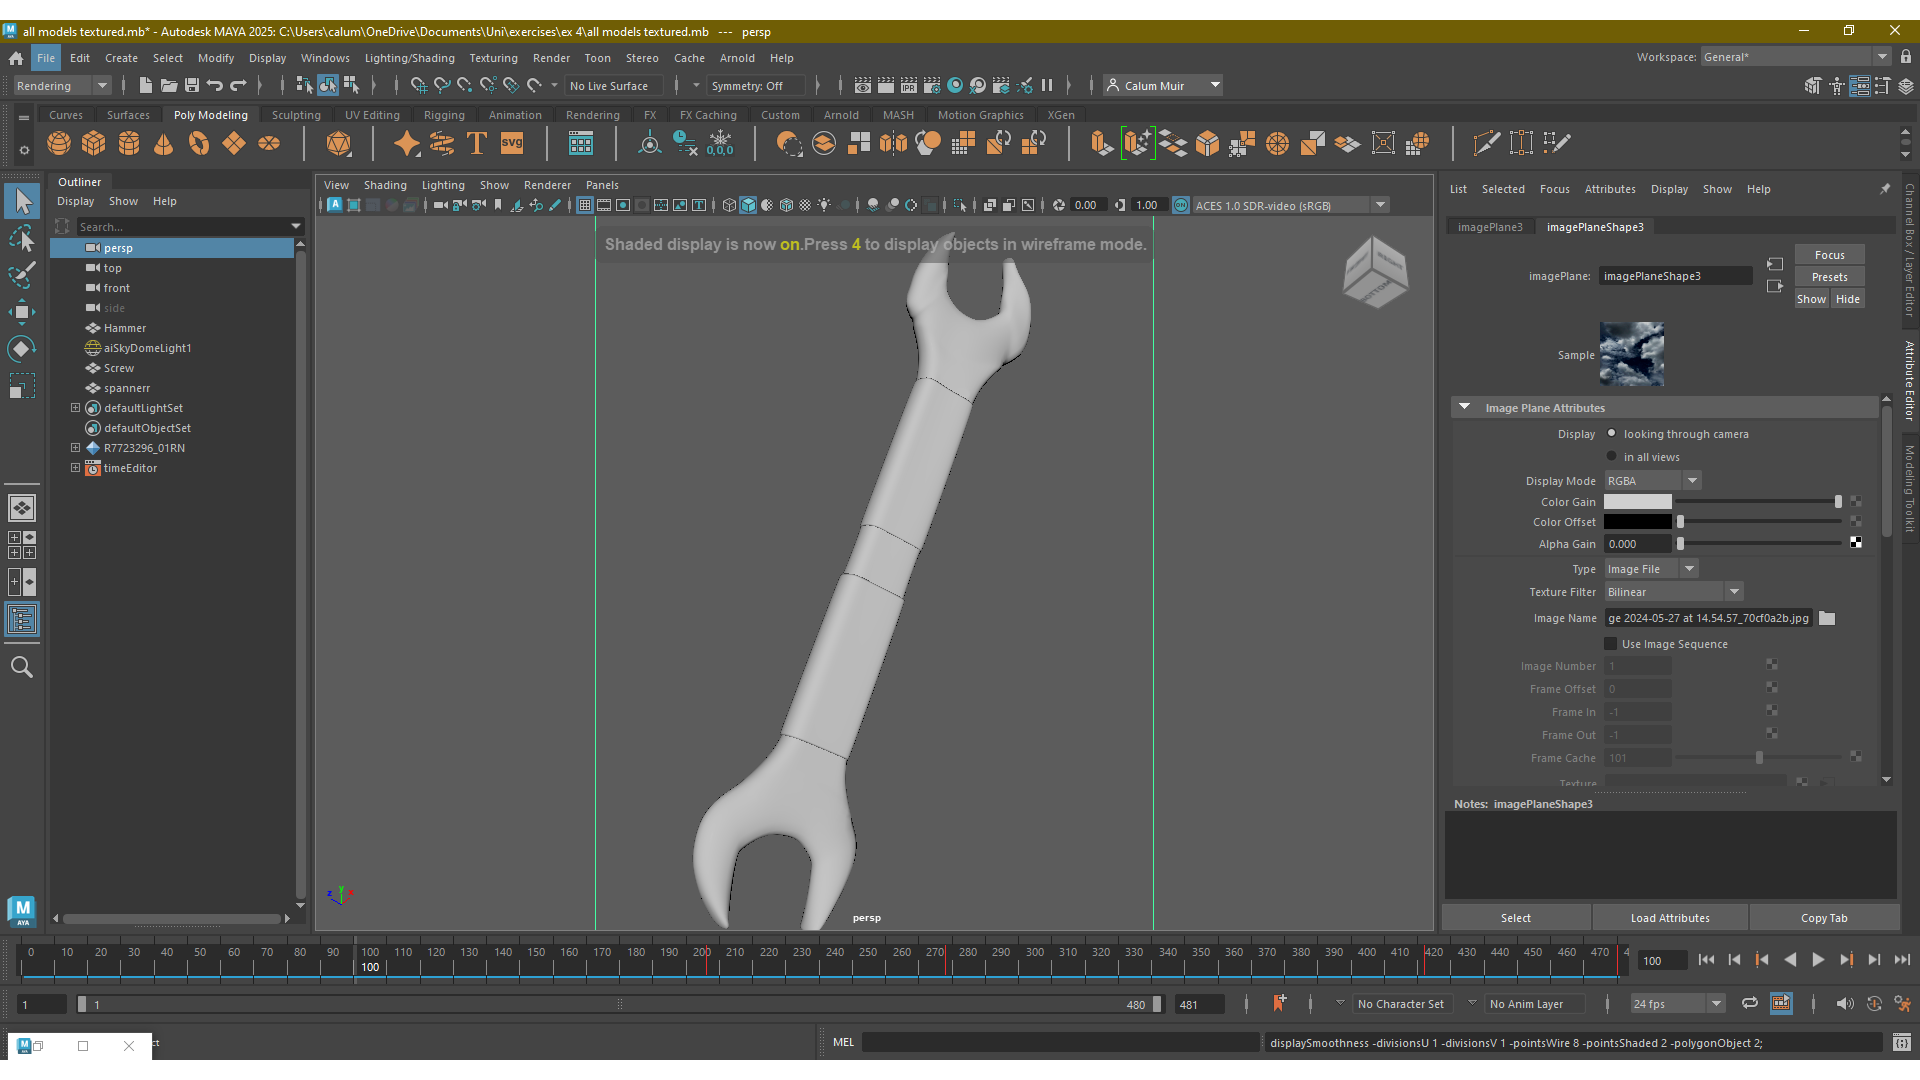
In this section, as stated the intended step was to improve on the product design, and in this step it was issued to design and model a series of products related to the topic. In this example as the brand had been decided as a tool company, the only appropriate option was to design some tools. Before it came to modelling anything, an overall design ethos had to be completed to ensure a similarity in style and aesthetics. To conform, a few rules were to be set in the spirit of designing. The first was that each design had to provide a comfort grip of some nature. The second being the ability to place embellishment detail through texture (such as the gold trim present). Finally, each design must be simple enough to incorporate the company branding on. The process was achieved through using reference imaging and error, utilising troubleshooting through available resources online and through tutorials. Simply put each model is a manipulated polygon utilising extrusions, scaling, bevelling and other forms of manipulation available through the maya software package. The final design choices became a hammer, a screwdriver, and a spanner as the author felt these would provide enough variability while still providing similar workflows that would enhance and provide suitable opportunities to practise the skills already learned in previous scenarios. It became important in figuring out the solution around providing a model that was suitable for easy UV unwrapping. This became the recurring hurdle that was a struggle to overcome at every opportunity, but provides an obvious point of improvement to work on independently for the author in their spare time.